Getting Started
Installing the library
Install react-native-vision-camera through npm:
- React Native
- Expo
npm i react-native-vision-camera
npx pod-install
expo install react-native-vision-camera
VisionCamera requires iOS 12 or higher, and Android-SDK version 26 or higher. See Troubleshooting if you're having installation issues.
(Optional) If you want to use Frame Processors, you need to install react-native-worklets-core 1.0.0 or higher.
Updating manifests
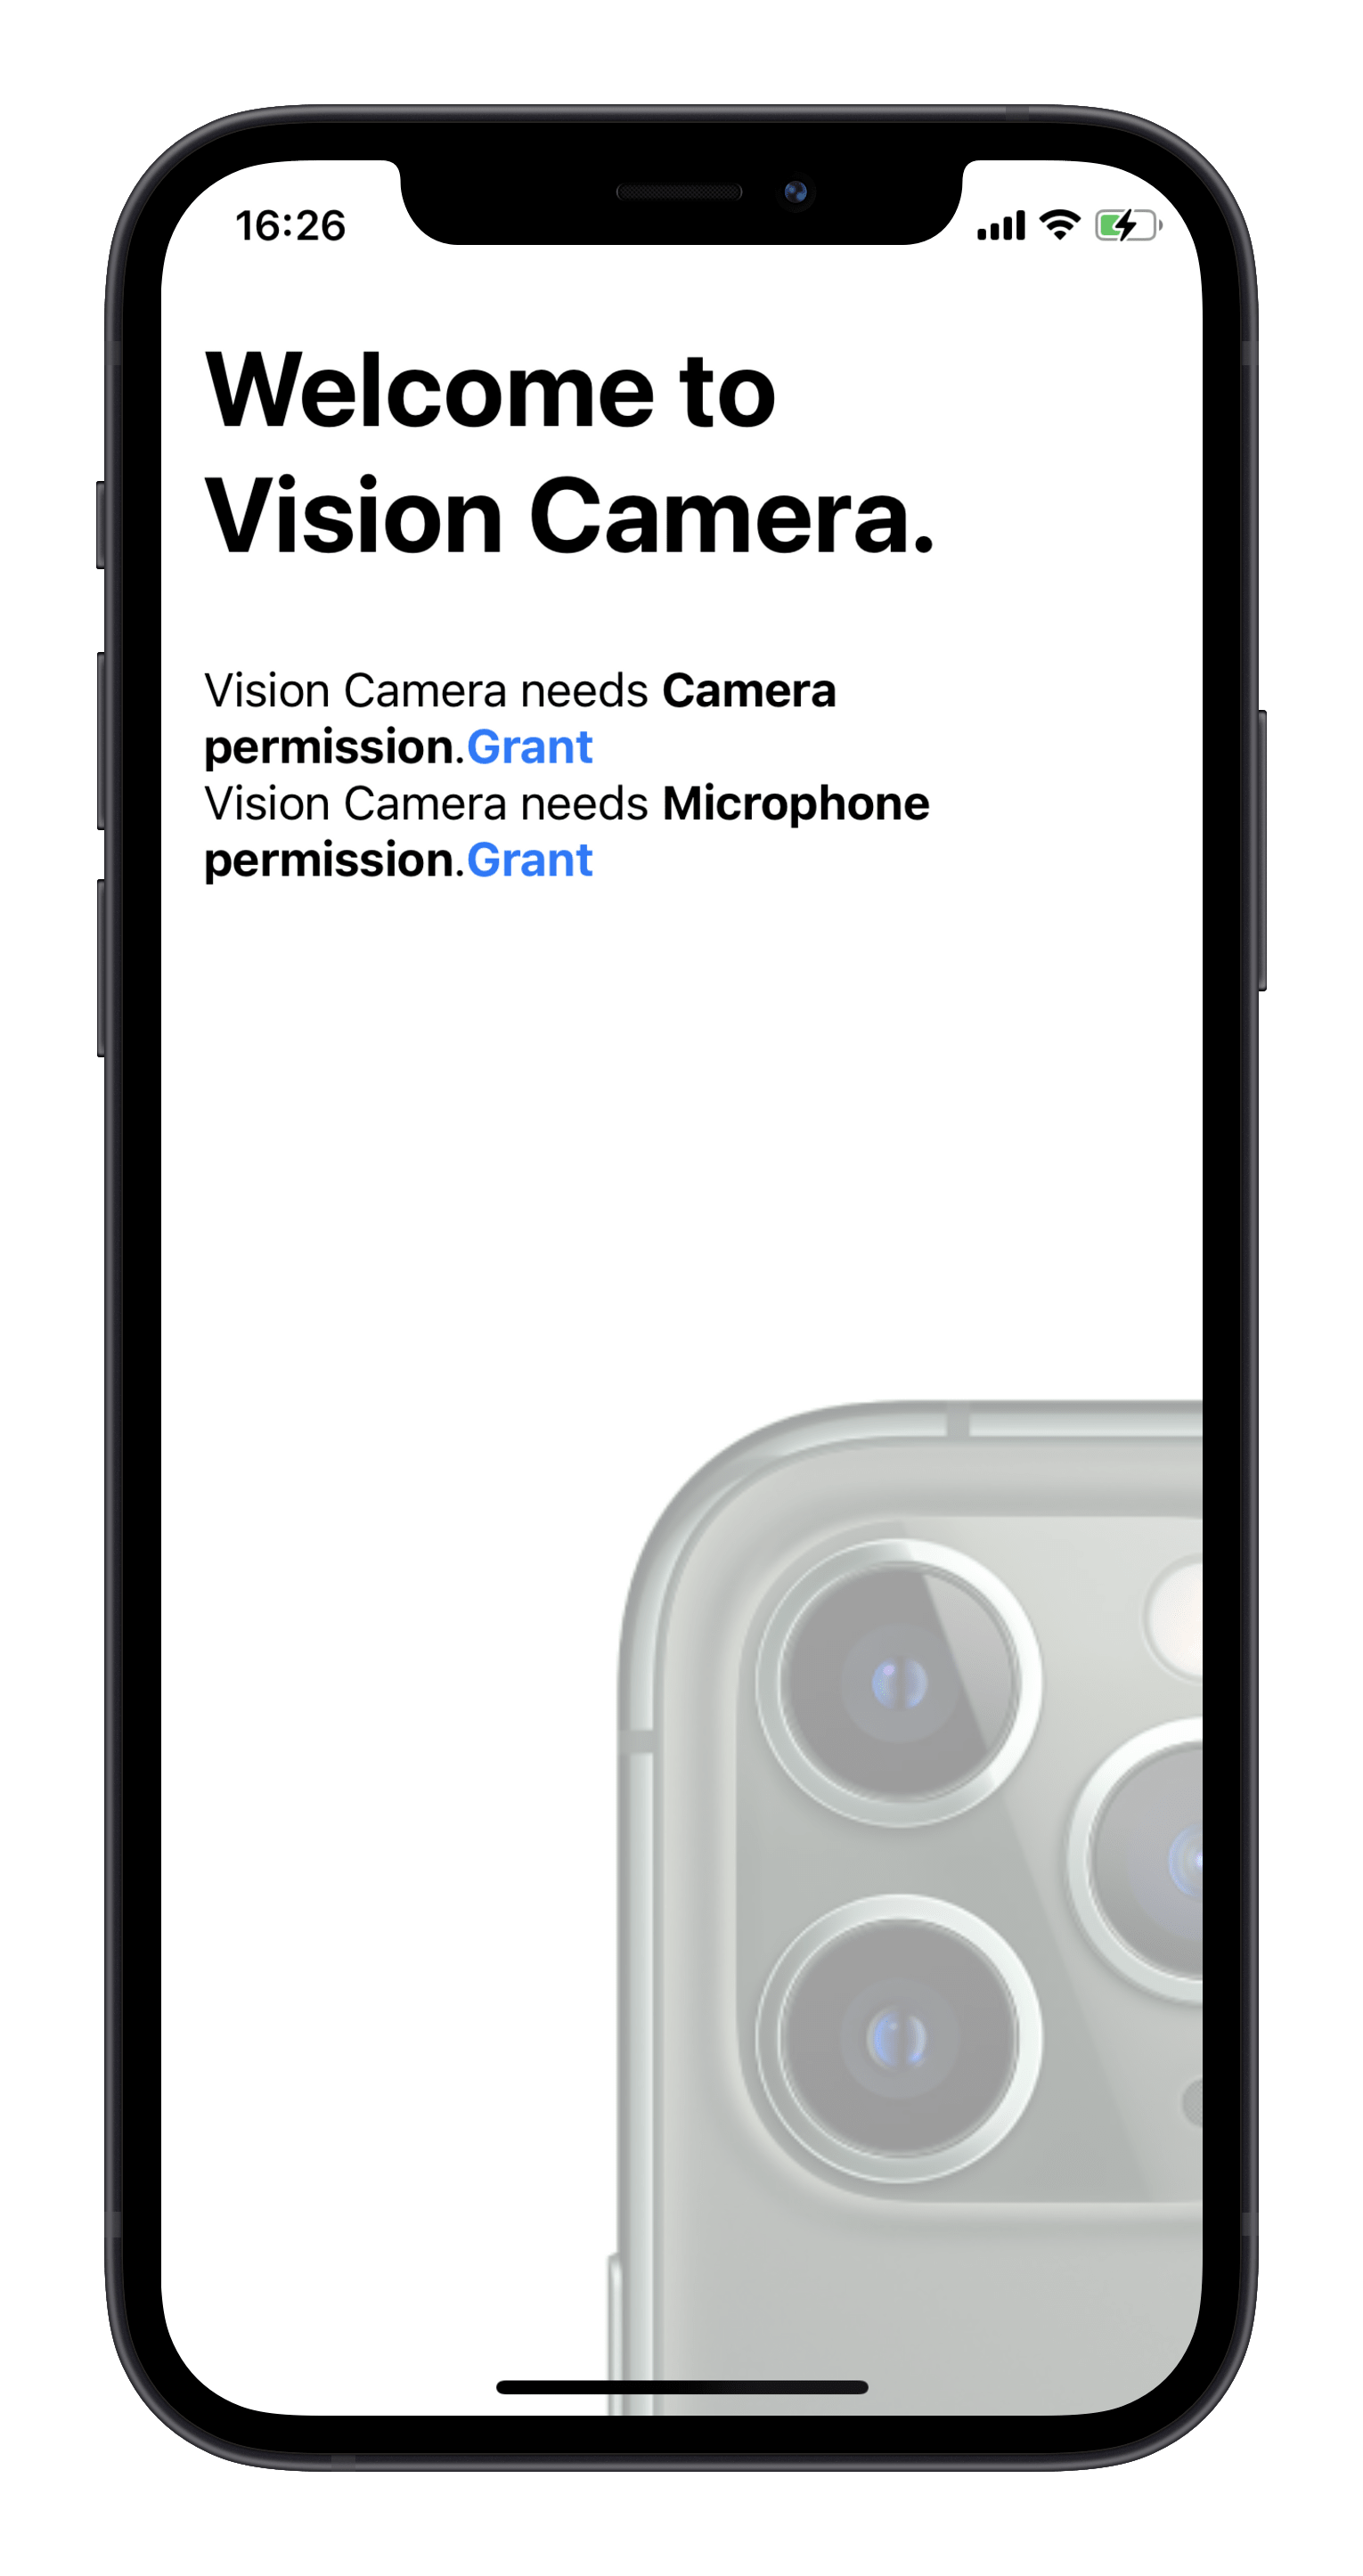
To use a Camera or Microphone you must first specify that your app requires camera and microphone permissions.
- React Native
- Expo
iOS
Open your project's Info.plist and add the following lines inside the outermost <dict> tag:
<key>NSCameraUsageDescription</key>
<string>$(PRODUCT_NAME) needs access to your Camera.</string>

<!-- optionally, if you want to record audio: -->
<key>NSMicrophoneUsageDescription</key>
<string>$(PRODUCT_NAME) needs access to your Microphone.</string>
Android
Open your project's AndroidManifest.xml and add the following lines inside the <manifest> tag:
<uses-permission android:name="android.permission.CAMERA" />

<!-- optionally, if you want to record audio: -->
<uses-permission android:name="android.permission.RECORD_AUDIO" />
Managed Expo
Add the VisionCamera plugin to your Expo config (app.json, app.config.json or app.config.js):
{
  "name": "my app",
  "plugins": [
    [
      "react-native-vision-camera",
      {
        "cameraPermissionText": "$(PRODUCT_NAME) needs access to your Camera.",

        // optionally, if you want to record audio:
        "enableMicrophonePermission": true,
        "microphonePermissionText": "$(PRODUCT_NAME) needs access to your Microphone."
      }
    ]
  ]
}
Finally, compile the mods:
expo prebuild
To apply the changes, build a new binary with EAS:
eas build
Getting/Requesting Permissions
VisionCamera also provides functions to easily get and request Microphone and Camera permissions.
Getting Permissions
Simply use the get functions to find out if a user has granted or denied permission before:
const cameraPermission = await Camera.getCameraPermissionStatus()
const microphonePermission = await Camera.getMicrophonePermissionStatus()
A permission status can have the following values:
granted: Your app is authorized to use said permission. Continue with using the<Camera>view.not-determined: Your app has not yet requested permission from the user. Continue by calling the request functions.denied: Your app has already requested permissions from the user, but was explicitly denied. You cannot use the request functions again, but you can use theLinkingAPI to redirect the user to the Settings App where he can manually grant the permission.restricted: (iOS only) Your app cannot use the Camera or Microphone because that functionality has been restricted, possibly due to active restrictions such as parental controls being in place.
Requesting Permissions
Use the request functions to prompt the user to give your app permission to use the Camera or Microphone.
The request functions only have effect if the current permission status is not-determined.
const newCameraPermission = await Camera.requestCameraPermission()
const newMicrophonePermission = await Camera.requestMicrophonePermission()
The permission request status can have the following values:
granted: Your app is authorized to use said permission. Continue with using the<Camera>view.denied: The user explicitly denied the permission request alert. You cannot use the request functions again, but you can use theLinkingAPI to redirect the user to the Settings App where he can manually grant the permission.restricted: (iOS only) Your app cannot use the Camera or Microphone because that functionality has been restricted, possibly due to active restrictions such as parental controls being in place.
Use the <Camera> view
If your app has permission to use the Camera and Microphone, simply use the useCameraDevices(...) hook to get a Camera device (see Camera Devices) and mount the <Camera> view:
function App() {
  const devices = useCameraDevices()
  const device = devices.back

  if (device == null) return <LoadingView />
  return (
    <Camera
      style={StyleSheet.absoluteFill}
      device={device}
      isActive={true}
    />
  )
}